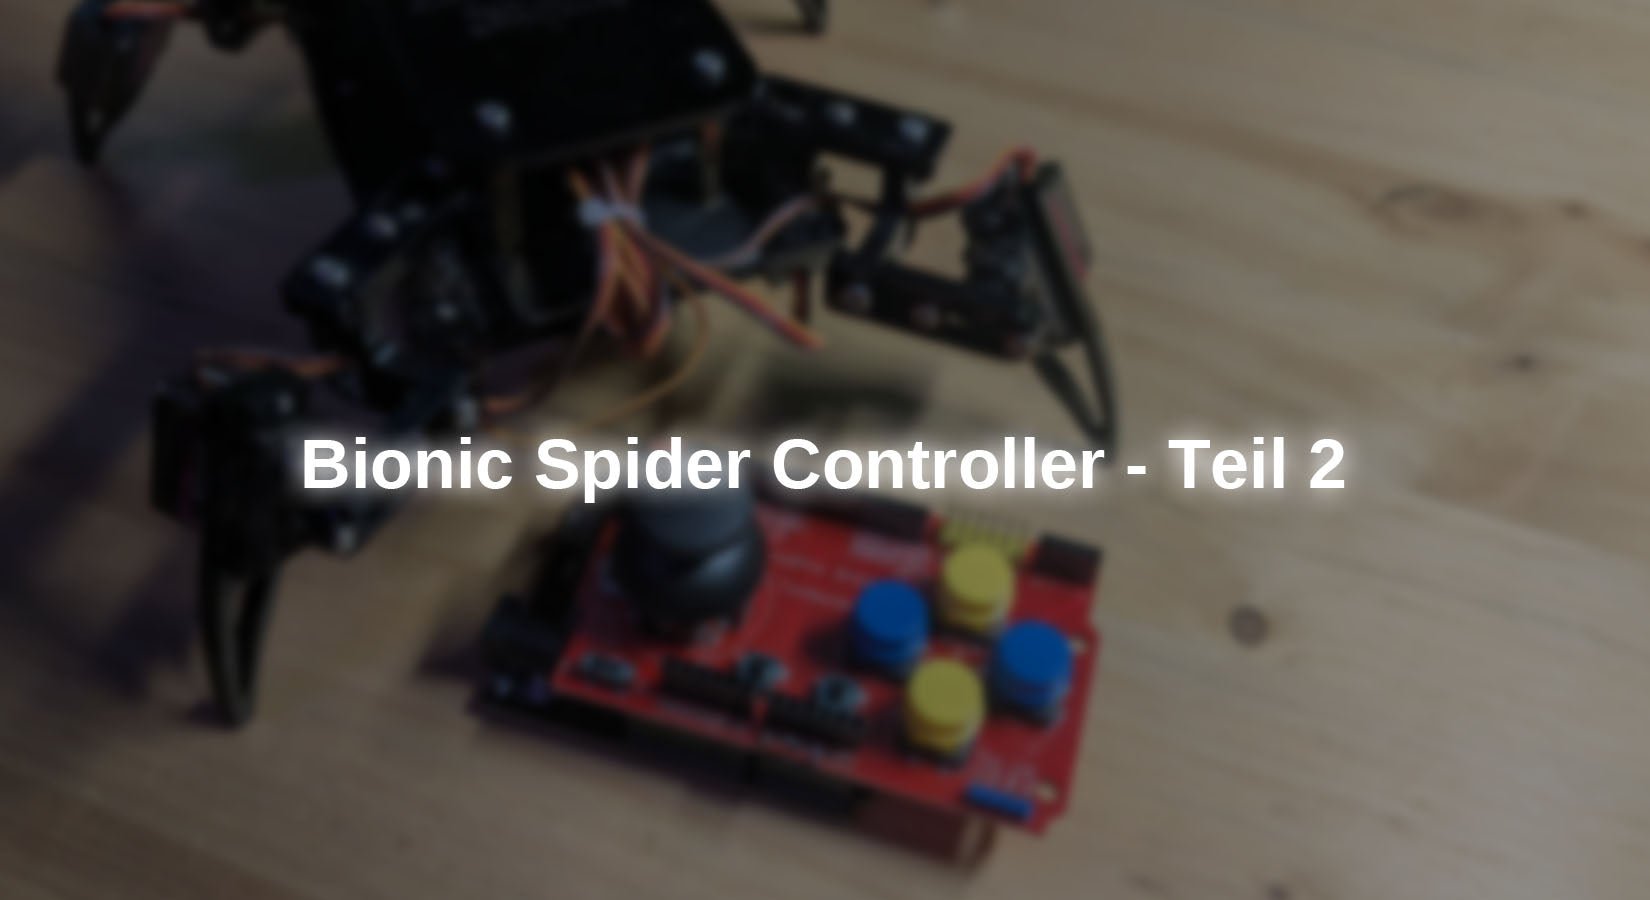
In the last blog post, the bionic spider was controlled with a self-built controller using the ESPNOW protocol.
This enables a simple device-to-device connection without having to be connected to a network.
In this blog, we use the UDP internet protocol to exchange data packets between the microcontrollers. To do this, the remote control and the spider must be in the same network.
However, this small limitation also has the advantage that the range with repeaters and access points in your home network is usually more extensive and comprehensive, meaning that a connection can even be established over a longer distance than the line of sight.
Hardware
If you have already installed the controller in the Spider Controller Blog you can skip the following part and continue with the software.
Two joystick versions are available, one of which is the KY-023 module can be used. However, as this would again require a lot of cabling, we recommend the PS2 Joystick Shieldwhich can also be connected directly to a microcontroller with Uno layout can be plugged in.
As the microcontroller has to communicate with the robot, a microcontroller with WiFi functionality is required. Furthermore, two ADCs are required for each of the X and Y axes, which is why an ESP32 must be used here.
(The ESP8266 only has one ADC input).
For the realization of the project you need:
(optional) 9V block battery + Battery clip
and of course an assembled one Bionic Spider Robot Kit
As the analog inputs of the two joystick axes are connected to GPIO 2 and 4, which are connected to the ADC2, these cannot be used simultaneously with the WLAN module. However, the connections IO 34 and IO35 (ADC1) are located directly next to these, which means that functionality can be easily established via a wire jumper.

Figure 1: Wire bridge between the connections
Connect the connections as shown above.
As the on-board LED is connected to GPIO 2, the pin must be removed here, as the connection would otherwise affect the value of the X-axis voltage.
The same applies to pin D12, as this interferes with the boot process and therefore no boot would be possible with the shield plugged in. The middle button of the joystick is connected to this connection, which means it can no longer be used. If you still want to implement this, it must be reconnected to a free connection.

Figure 2: Shield with modifications
The shield can simply be plugged onto the D1 R32. Make sure that the small switch in the left-hand corner is set to 3v3 otherwise the ESP32 could be damaged by the excessive voltage of 5V.
Software
If you are programming an ESP32/ESP8266 in the Arduino IDE for the first time, copy the following URLs in the Arduino IDE under: File->Preferences->Additional boards manager URLs : https://dl.espressif.com/dl/package_esp32_index.json
http://arduino.esp8266.com/stable/package_esp8266com_index.json
and install the ESP32 and ESP8266 package in the board administration.
For communication, the data packets are exchanged using UDP. With this communication protocol, the packets are simply sent without checking whether the packet has been received.
This makes data exchange very fast, but also insecure, as it is not possible to determine whether the recipient actually receives the data.
The library for UDP communication is already included in the extensive board packages for the ESP8266 and ESP32.
In the ESPnow blog, the MAC address of the microcontroller was required for communication.
When communicating via UDP, only the IP address of the receiver is required. This is assigned automatically via the router's DHCP server when connecting to the home network (WLAN).
The IP address can either be determined via the user interface of your router, but is also displayed on the serial monitor at the start of the receiver program.
Code bionic Spider
Load the following code onto the ESP8266 of the Bionic Spider kit by selecting the correct port and board in the Arduino IDE.
|
#include <ESP8266WiFi.h> |
Explanation:
The required libraries are integrated at the beginning. The file commands.h with the movement sequences can be found together with the code in the download at the end of this section.
The WLAN access data is then defined and a variable for the received command is declared. The object for the UDP library is also created.
In setup(), the microcontroller is connected to the WLAN and the individual servomotors are initialized.
In the loop(), the incoming data packets are transferred from the sender to the cmd string is saved. This is then evaluated by the if queries and the corresponding command is executed. Once the command has been executed, a confirmation is sent back to the controller.
You can download the complete code here download.
Enter your WLAN access data in the program instead of the placeholders.
After uploading to the microcontroller, open the serial monitor and make a note of the IP address that is displayed.
If this is not displayed at the beginning, you can use the two lines at the beginning in the loop() for the output.
Code Controller
|
#include <WiFi.h> |
Explanation:
First, the required libraries are integrated, macros are created for the pins of the various buttons and the WLAN access data and the IP address of the receiver are declared. The global variables for the calibration of the joystick axes, the command to be sent and for the implementation of the confirmation message are then declared.
In setup(), the microcontroller is connected to the WLAN, the joystick axes are calibrated and the digital inputs are defined.
In the loop(), the joystick position is first read out as an analog value and stored in corresponding variables.
This is followed by a check, which resets the transmission status after a timeout of 10 seconds.
The evaluation algorithm for the direction of movement checks whether the values of the axes exceed a limit value of 50. This is necessary because both the potentiometers used to read out the position of the axes and the analog-to-digital converters (ADC) move minimally around the zero value even in the zero position (so-called drifting).
If an axis is above the threshold value, the values of the magnitude of the two axes are compared with each other. In this way, the axis that has moved the most and is therefore the one that points the way can be determined.
In addition, the digital inputs are read out and the corresponding command (button designation) is saved in the variable msg when a button is pressed.
Finally, the command is sent to the robot as a UDP packet.
When the receiver has executed the command, it sends a confirmation back to the sender. If this is received, the variable status up again true which makes it possible to resend.
You can download the entire program here download.
Upload this with the correct WLAN access data and IP address to the ESP32 D1 R32 by selecting the correct port.
Conclusion
In this blog post, you learned how to control the bionic Spider robot using the UDP communication protocol.
Of course, this project only lays the foundations for your own extensions and modifications. For example, you can operate a microcontroller in AP mode so as not to be dependent on an external router.
Thus, in addition to ESP's own ESPnow communication protocol with UDP, you have also become familiar with a very widespread protocol that is used in many time-critical applications.
Have fun rebuilding :)


1 comment
Martin Hofer
Hallo liebe Bastler, habe den code etwas umgebaut und um einen ap und wifi modus erweitert, code ist auf https://github.com/Mosei1984/Spider auffindbar.