Oh my, Easter suddenly comes this year. The shelves in the supermarket have been full of treats for weeks. Now quickly prepare something with some electronic components in the household, so that we can use the (grandchildren) children, especially in bad weather, and they can also be creative.
The Idea
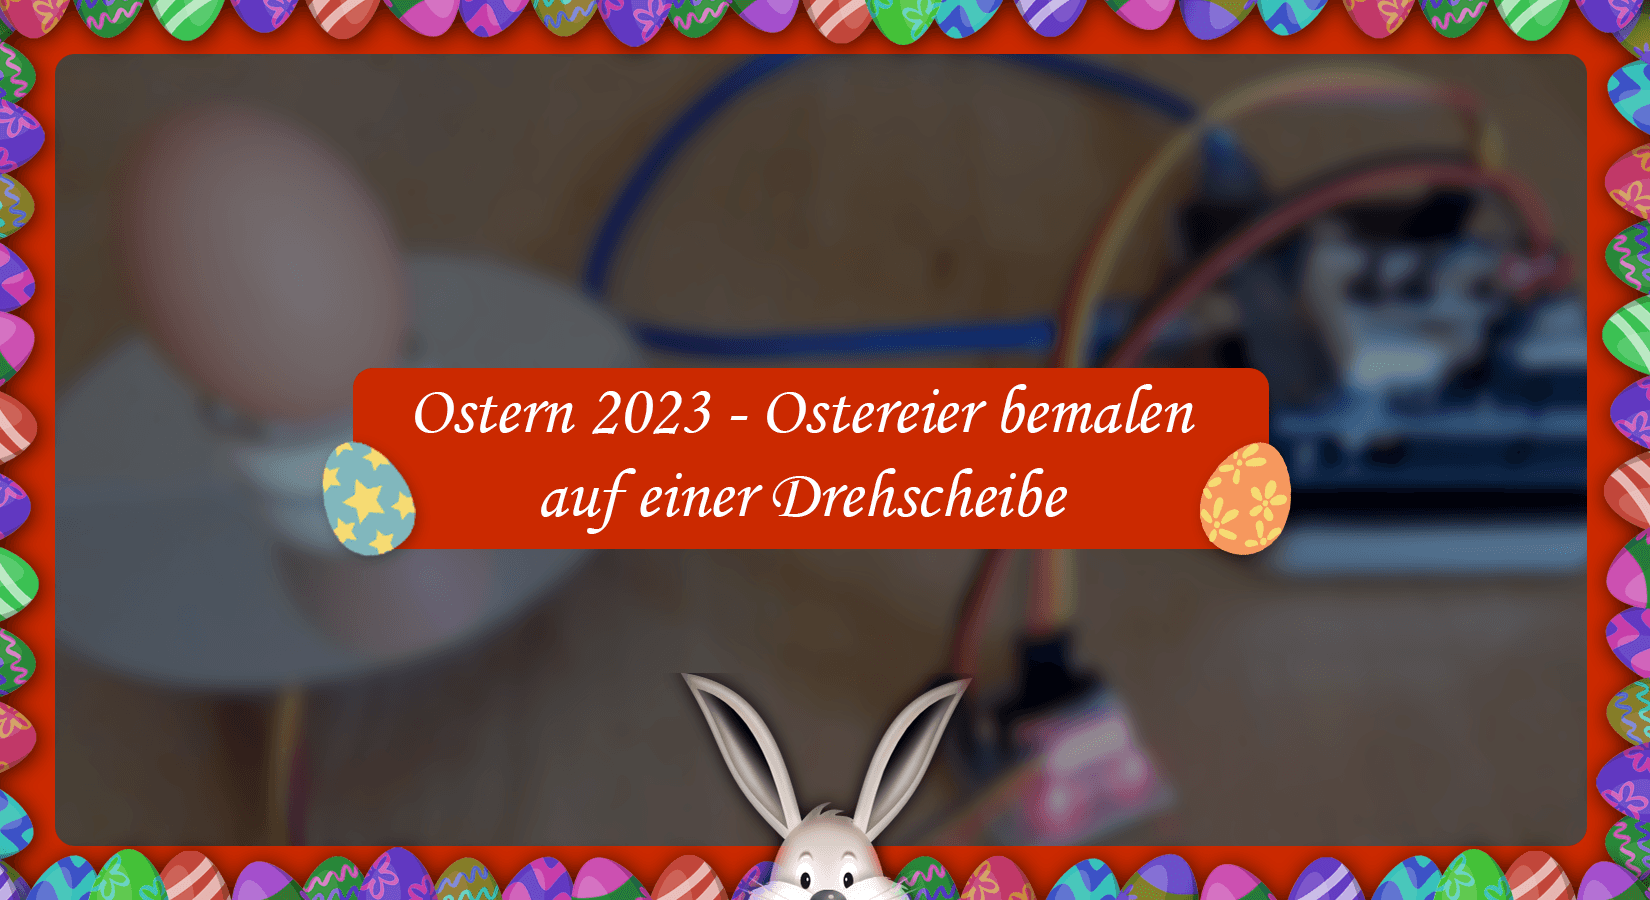
With a stepper motor, e.g. of the type 28byj-48 (5V), tinker a small turntable on which our breakfast eggs rotate for painting. Two rotations, two speeds, two revolutions at the push of a button, so that you have enough time to set the brush. Here we go.
Hardware
|
1 |
||
|
1 |
||
|
1 |
||
|
or 1 |
||
|
4 |
Button/buttons, jumper cable |
|
|
1 |
Turntable? |
= Discarded CD/DVD |

I still had the above Stepper motor in my hobby box. Since this is not in the range of AZ-Delivery is represented, the link refers to Amazon. Other slow-rotating (gear) engines will certainly work just as well. The first hurdle was the connection between the shaft of the engine and the turntable. Here I found a small plastic part, which I first glued on the CD and then put onto the shaft.
The circuit is done quickly. The actual engine with its five connections comes with a small circuit board, on which an IC of the Uln2003a type and four LEDs, and some pins are located. We close the pins designated with in4 to the pins (female males) to pins 8 to 11 of the microcontroller. I follow the four buttons later. First of all, I would like to find a suitable sketch so that the engine in clockwise (CW = clockwise) and contrary to clockwise (CCW = Counter-ClockWise) can turn. In our microcontroller, we can exceptionally connect the engine to the 5V and GND connection. Usually, consumers such as motors, servos, and relays need an external voltage supply.

The Programming
In the Arduino IDE, there is a program library called Stepper.h that supplied four examples.

First I try stepper_speedcontrol from where you can control the speed with a potentiometer on A0. The good news: my stepper motor turns. The bad: there are speed ranges in which the engine sounds "unhealthy". The other examples also only work "half". My engine always turns in the same direction, no matter which one was specified. I choose the use of the Stepper library and choose the search for a sketch in my archive from the time when the program library did not yet exist. Because programming a stepper motor is not that difficult. Reason enough to remember the functionality.

Have you already frowned at the five connections of the engine? A simple direct current engine comes with two connections. With pulse width modulation (PWM) we control the speed and with an H-bridge we can polish to change the direction of rotation. So now five cables for IC Uln2003. The stepper motor has two coils with a fifth connection in the middle of the two coils. Depending on the polarity, the two directional directions and speeds are possible. A stepper motor is therefore a Synchronous engine, in which the rotor With a controlled, gradual rotating, electromagnetic field of Wash To a small one angle (Step) can be turned. This requires only a certain sequence when switching on and off the tensions on the coils. Instead of PWM, we apply an individual pulse to the coils. We define the sequence of this pulse in self-defined functions. In the following example sketch, the engine turns a full circle with a three-second break.
/* Step motor 28byj-48
 *  https://create.arduino.cc/projecthub/debanshudas23/getting-started-with-stepper-motor-28byj-48-3de8c9
 */


#define A 8
#define B 9
#define C 10
#define D 11
intimately Delay = 2;

#define Number_of_steps_per_rev 512


void set up(){
  pin mode(A,OUTPUT);
  pin mode(B,OUTPUT);
  pin mode(C,OUTPUT);
  pin mode(D,OUTPUT);
}


void write(intimately A,intimately B,intimately C,intimately D){
  digital(A,A);
  digital(B,B);
  digital(C,C);
  digital(D,D);
}


void stepcw(){
  write(1,0,0,0);
  delay(Delay);
  write(1,1,0,0);
  delay(Delay);
  write(0,1,0,0);
  delay(Delay);
  write(0,1,1,0);
  delay(Delay);
  write(0,0,1,0);
  delay(Delay);
  write(0,0,1,1);
  delay(Delay);
  write(0,0,0,1);
  delay(Delay);
  write(1,0,0,1);
  delay(Delay);
}


void stepcc(){
  write(1,0,0,1);
  delay(Delay);
  write(0,0,0,1);
  delay(Delay);
  write(0,0,1,1);
  delay(Delay);
  write(0,0,1,0);
  delay(Delay);
  write(0,1,1,0);
  delay(Delay);
  write(0,1,0,0);
  delay(Delay);
  write(1,1,0,0);
  delay(Delay);
  write(1,0,0,0);
  delay(Delay);
}


void Step2cw(){
  write(1,0,0,0);
  delay(Delay);
  write(0,1,0,0);
  delay(Delay);
  write(0,0,1,0);
  delay(Delay);
  write(0,0,0,1);
  delay(Delay);
}


void Step2ccw(){
  write(0,0,0,1);
  delay(Delay);
  write(0,0,1,0);
  delay(Delay);
  write(0,1,0,0);
  delay(Delay);
  write(1,0,0,0);
  delay(Delay);
}


void loop(){
  intimately I;
  I=0;
  while(I<Number_of_steps_per_rev){
  stepcw();
  I++;
  }
  delay(3000);
  while(I>0){
  stepcc();
  I--;
  }
  delay(3000);
}
After we with the self-defined functions Stepcw (), Stepccw (), Step2cw () and Step2ccw () The foundations for our application have only been adapted to the main program. As mentioned above, the engine should make two revolutions at the touch of the button on the left or right, fast or slow.
Therefore we add four buttons in our circuit, which we as Input_pullup Define and switch against the ground. Pins 4 to 7 are still free. We add:
#define CW=4
#define CW2=5
#define CCW2=6
#define CCW=7


// Supplement void setup ()
  pin mode(CW,Input_pullup);
  pin mode(CCW,Input_pullup);
  pin mode(CW2,Input_pullup);
  pin mode(CCW2,Input_pullup);


// main program
void loop(){
  IF (digital read(CW)==Low)   {
    Serial.print("CW");
    I=0;
    while(I<2*Number_of_steps_per_rev){
    stepcw();
    I++;
  } }

  Else IF (digital read(CCW)==Low)   {
    Serial.print("CCW");
    I=2*Number_of_steps_per_rev;
    while(I>0){
    stepcc();
    I--;
  } }

  Else IF (digital read(CW2)==Low)   {
    Serial.print("CW2");
    I=0;
    while(I<2*Number_of_steps_per_rev){
    Step2cw();
    I++;
  } }

  Else IF (digital read(CCW2)==Low)   {
    Serial.print("CCW2");
    I=2*Number_of_steps_per_rev;
    while(I>0){
    Step2ccw();
    I--;
  } }
}
Here is the complete Sketch for download And a photo of the test setup.

Have fun recovering and painting the Easter eggs.
Happy Easter.
P.S.: Feel free to look into that again Easter project from last year


1 comment
Keppler, Thomas
Hallo miteinander,
schönes Beispiel für die Ansteuerung eines Schrittmotores. Mir gefiel nicht, daß nach den (2) Umdrehungen der Motor weiterhin auf einer Phase mit Strom versorgt wurde. Daher habe ich eine kleine Ergänzung des Loop-Teiles vorgenommen. Dadurch wird nach den Umdrehungen der Schrittmotor stromlos geschaltet:
else if (digitalRead(ccw)==LOW) { Serial.println(“ccw”); i=2*NUMBER_OF_STEPS_PER_REV; while(i>0){ stepccw(); i—; } write(0,0,0,0); } else if (digitalRead(cw2)==LOW) { Serial.println(“cw2”); i=0; while(i<2*NUMBER_OF_STEPS_PER_REV){ step2cw(); i++; } write(0,0,0,0); } else if (digitalRead(ccw2)==LOW) { Serial.println(“ccw2”); i=2*NUMBER_OF_STEPS_PER_REV; while(i>0){ step2ccw(); i—; } write(0,0,0,0); }void loop(){
if (digitalRead(cw)==LOW) {
Serial.println(“cw”);
i=0;
while(i<2*NUMBER_OF_STEPS_PER_REV){
stepcw();
i++;
}
write(0,0,0,0);
}
}