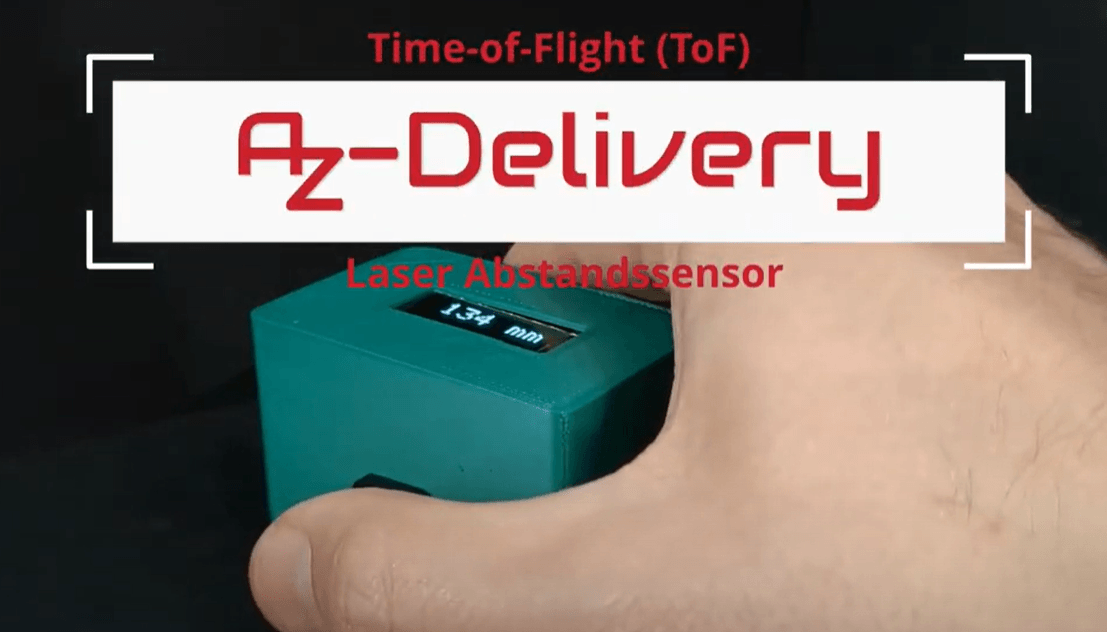
Our AZ-Delivery Time-of-Flight (ToF) laser distance sensor can be used in many applications. Today we will show you one of the exciting projects you can use it in. In normal mode, our TOF sensor can measure distances of up to 1 m with a resolution of 1 mm. In long range mode, the sensor can report distances of up to 2 m, but with lower accuracy. We put the ToF sensor together with an ESP32, an OLED display and a buck converter in a 3D-printed case and get a handy gadget that shows us the distance on its 0.91-inch screen.
Here you can find the distance sensor:
VL53L0X Time-of-Flight (ToF) Laser Distance Sensor.
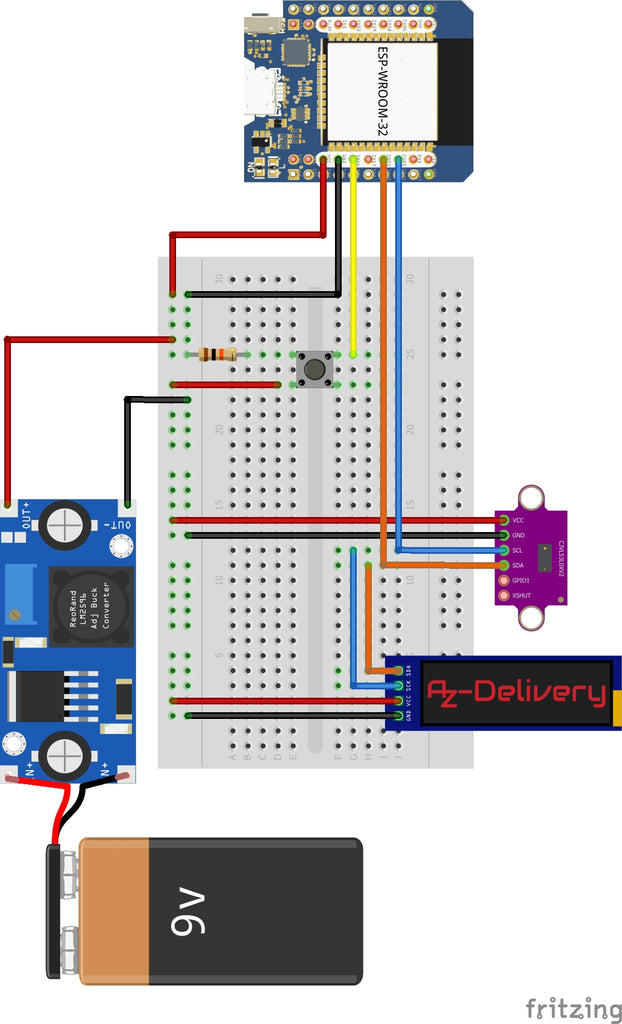
Wiring:
Code:
/*
    ___ _____        ____       ___
   /   /__  /       / __ \___  / (_)   _____  _______  __
  / /| | / / ______/ / / / _ \/ / / | / / _ \/ ___/ / / /
 / ___ |/ /_/_____/ /_/ /  __/ / /| |/ /  __/ /  / /_/ /
/_/  |_/____/    /_____/\___/_/_/ |___/\___/_/   \__, /
                                                /____/
 Product, datasheet and pinout under:
  https://www.az-delivery.de/

 Project: DIY Distance Sensor with ToF Sensor
 Date: 11/2022

*/
#include <Arduino.h>
#include <Wire.h>             // for the ToF Sensor
#include <VL53L0X.h>          // for the ToF Sensor
#include <Adafruit_GFX.h>     // for the oled Display
#include <Adafruit_SSD1306.h> // for the oled display

int btn = 16;

// FoT Sensor
VL53L0X sensor;
unsigned int measurement;

// Oled display
#define SCREEN_WIDTH 128
#define SCREEN_HEIGHT 32
Adafruit_SSD1306 display(SCREEN_WIDTH, SCREEN_HEIGHT, &Wire, -1);

void showMeasurement()
{
  measurement = sensor.readRangeSingleMillimeters();
  display.clearDisplay();

  if (measurement >= 10 && measurement < 100)
    display.setCursor(36, 0);

  else if (measurement >= 100 && measurement < 1000)
    display.setCursor(18, 0);

  else
    display.setCursor(0, 0);

  display.print(measurement);
  display.setCursor(92, 0);
  display.print("mm");
  display.display();
}

void setup()
{
  Serial.begin(115200);
  pinMode(btn, INPUT);
  display.begin(SSD1306_SWITCHCAPVCC, 0x3C);
  display.setTextSize(3);
  display.setTextColor(WHITE);
  display.clearDisplay();
  display.display();
  Wire.begin();

  sensor.setTimeout(500);
  if (!sensor.init())
  {
    Serial.println("Failed to detect and initialize sensor!");
    while (1)
    {
    }
  }
  sensor.setMeasurementTimingBudget(200000); // increase timing budget to 200 ms for more accuracy
}

void loop()
{
  if (digitalRead(btn) == HIGH)
  {
    showMeasurement();
  }
}


5 comments
Kurt K
Kannte den Sensor noch nicht und habe mir gleich ein paar davon geholt. Danke für die Projektidee, habe das Beispiel noch um ein paar weitere Funktionen ergänzt.
Rainer Hoffmann
@Willem, @Tobias Peggau
Ich muss korrigieren. Merkwürdige Geschichte: wenn man in Cura 5.2.1 die stl-Dateien für den Drucker “Artillery Genius Pro” öffnet, dann werden die Modelle richtig dargestellt und Cura gibt die Meldung aus: “Automatische Skalierung des Modells auf 100000 %% der Originalgröße”. Öffnet man die Dateien in Cura für den Drucker “FLSUN Q5” sieht man nichts und man kann auch nichts manuell skalieren. Anscheinend ein bug in Cura.
Rainer Hoffmann
@Willem, @Tobias Peggau
Die Druckvorlagen sind in der vorliegenden Form von Cura nicht zu verarbeiten. Vielleicht kann es ja ein anderer Slicer. Ich habe mal folgendes gemacht:
Datei in “Fusion 360” laden und dann “Als Netz speichern”, Format “STL (ASCII)” (Fusion wandelt die Daten von binär nach ASCII um).
Neu erstellte Datei laden, “3D-Drucken”, als Format “STL (ASCII)” wählen und Häkchen bei “An 3D-Druck-Dienstprogramm senden” setzen (nicht erneut speichern). Wenn das Dienstprogramm Cura ist wird ein Modell angezeigt, welches man dann noch mit dem Faktor 10 skalieren muss, um ein realistisches Modell zu erhalten. Man kann das Modell slicen und drucken. Ob die Maße dann allerdings stimmen habe ich nicht überprüft. Also alles ganz einfach ;-)
Willem
Ein sehr schönes Projekt, wo kann ich das 3D gedruckte Gehäuse finden. Ich kann keinen Link dazu finden
Danke im voraus
Robert Kranich
Ein ganz großartiges Projekt, danke!