Already in September 2021 we were contacted by the project "Klassenzimmer unter Segeln" (KUS) and asked if we want to support with our products. KUS is an educational project of the Friedrich-Alexander-University Erlangen-Nuremberg, which enables students to spend several months on a sailing ship. on a sailing ship. The school lessons are continued on board and at the same time the students have the opportunity to develop their personalities and get to know foreign cultures.
We were happy to donate products for the technical and scientific lessons and to give the students the opportunity to build a weather station on the high seas.
We kindly received the following project description from KUS for publication. We apologize for any possible errors in the project description for this guest post.
We hope you enjoy building your own weather station!
Benefit
This portable weather station is able to record the most important weather information (temperature, air pressure, and humidity) and present it promptly via the display.
Functionality
The station retrieves the weather information from its sensors (a temperature/pressure sensor and a humidity sensor). The microcontroller board then processes the information and sends the graphically processed data to the display, which shows it.
Required components
|
1 |
|
|
1 |
|
|
1 |
BMP180 Barometric pressure and temperature sensor alternatively |
|
1 |
Microcontroller Board ATmega328 alternatively |
|
1 |
Optional: |
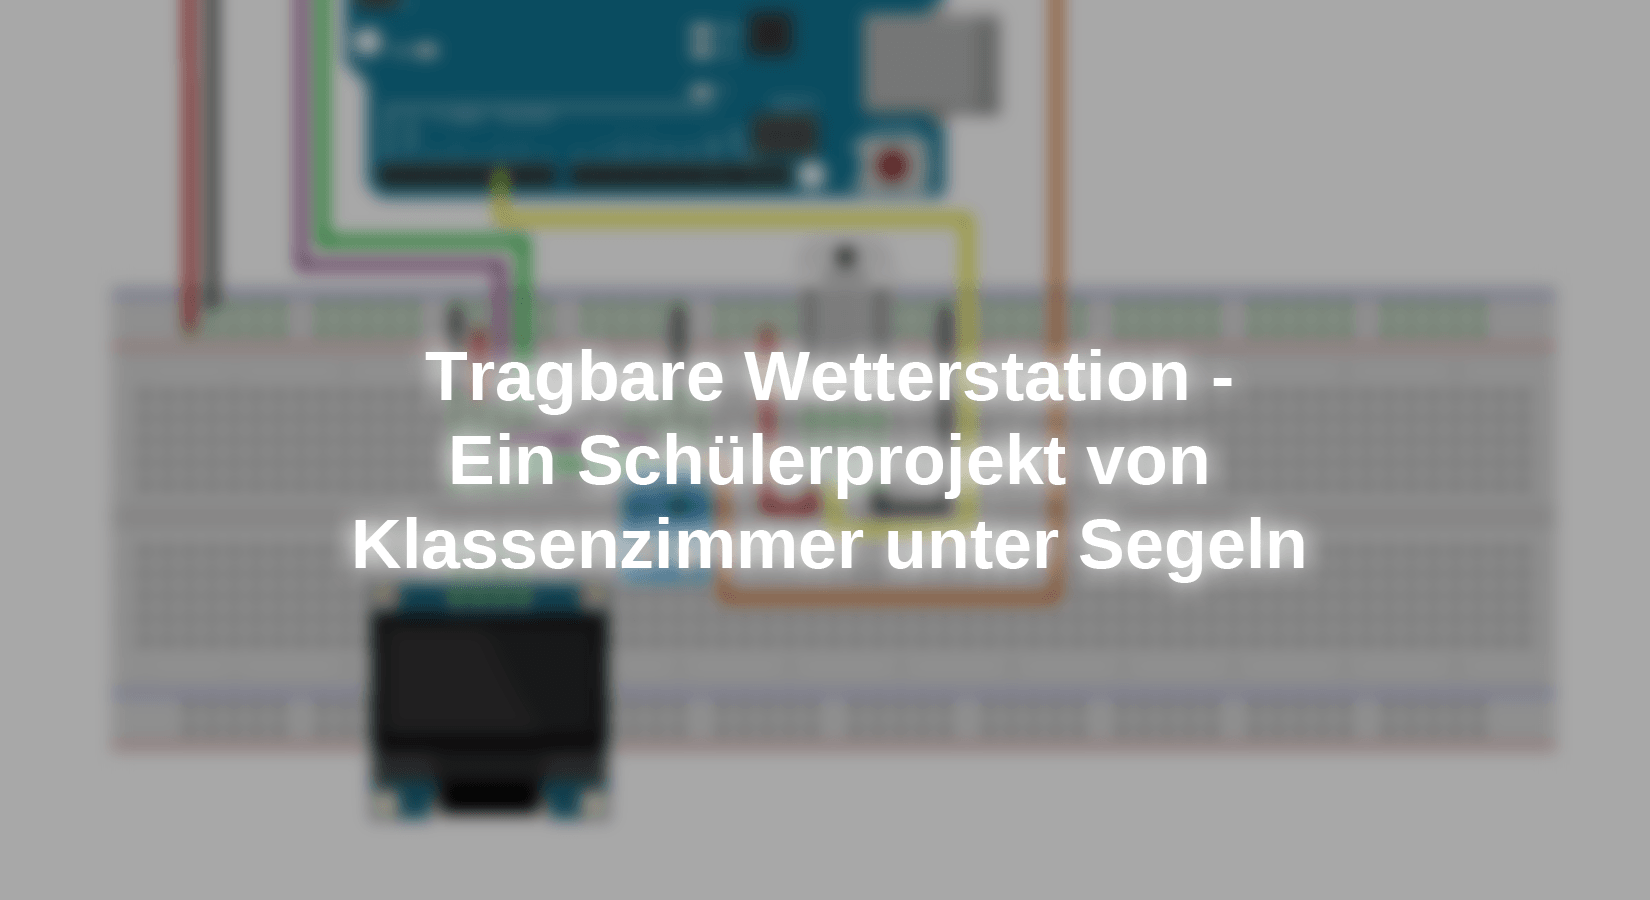
Circuit diagram

Required libraries
|
DHT.h |
Library management |
DHT22 Humidity sensor |
|
SPI.h |
Integrated in Arduino IDE |
BUS system |
|
Wire.h |
Integrated in Arduino IDE |
BUS system |
|
Adafruit_GFX.h |
Library management |
Adafruit Base Library |
|
Adafruit_SSD1306.h |
Library management |
OLED display |
|
Adafruit_BMP085.h |
Library management |
BMP180 Air pressure/temperature sensor |
Source code
//Retrieve libraries
#include "DHT.h"
#include <SPI.h>
#include <Wire.h>
#include <Adafruit_GFX.h>
#include <Adafruit_SSD1306.h>
#include <Adafruit_BMP085.h>

//Set sensor pin of the humidity sensor
#define DHTPIN 6

//Set sensor type of the humidity sensor
#define DHTTYPE DHT22

//Set display size: Width of 128 pixels / Height of 64 pixels
#define SCREEN_WIDTH 128
#define SCREEN_HEIGHT 64

//Set (must be set, but is not used in our project)
#define OLED_RESET 4

//Display initialize
Adafruit_SSD1306 display(SCREEN_WIDTH, SCREEN_HEIGHT, &Wire, OLED_RESET);

//Initialize air pressure/temperature sensor
Adafruit_BMP085 bmp;

//The humidity/temperature sensor is initialized
DHT dht(DHTPIN, DHTTYPE);

//The program is prepared
void setup() {
  //The serial communication is started
  Serial.begin(9600);

  //The BUS system is initialized
  Wire.begin ();

  //The humidity/temperature sensor is started
  dht.begin();

  //Check the operation of the pressure sensor
  if (!bmp.begin()) {
    Serial.println("Could not find a valid BMP085 sensor, check wiring!");
    while (1) {}
  }

  //Check the functionality of the humidity/temperature sensor.
  Serial.println(F("DHTxx test!"));

  //Function test of the display
  if(!display.begin(SSD1306_SWITCHCAPVCC, 0x3C)) {
    Serial.println(F("SSD1306 allocation failed"));
  }

  //Display reset
  display.clearDisplay();

  //Set text color of the display
  display.setTextColor(WHITE);
}

//Start program loop
void loop() {
  //Delay to unload the Arduino board
  delay(2000);

  //Measure humidity and temperature and set variables for them.
  float h = dht.readHumidity();
  float t = dht.readTemperature();

  //error message in case of incorrect reading
  if (isnan(h) || isnan(t)) {
    Serial.println(F("Failed to read from DHT sensor!"));
    return;
  }

  display.clearDisplay(); //reset display
  display.setCursor(0,0); //Set cursor position

  //Fill display with text and values
  display.setTextSize(1); //Set text size
  display.println(F("Humidity: "));
  display.setTextSize(2);
  display.print(h);
  display.println(("%"));
  display.setTextSize(1);
  display.print(F("Temperature: "));
  display.setTextSize(2);
  display.print(t);
  display.println(("C "));
  display.setTextSize(1);
  display.print(F("Pressure = "));
  display.setTextSize(2);
  display.print(bmp.readPressure()/100-4); // Get air pressure and apply correction factor to it
  display.println(" mbar");
  display.display(); //Execute on the display
}
Conclusion
We found out that it is important to conscientiously check the plug-in diagram several times for correctness and functioning. Furthermore, it is recommended to calibrate the pressure sensor using an independent station with a correction factor to ensure the most accurate measurement results. Despite the numerous libraries used, the interoperability of these proved to be outstanding.
We, as the Classroom Under Sail Class of 2021/2022, had a lot of fun creating this program and hope you enjoy using our weather station.
For mobile use, a power supply with accumulators or batteries is usually needed. How to implement such a thing, we show among other things in the blog series The talking color detector with DFPlayer and TCS3200.


